Safety first: Lower in added sugar, not sugar-free. Not medical or nutrition advice; check with your doctor about your own diet. Please read our editorial guidelines before you start.
Key takeaways
- Spread the beef thin all the way to the edge and squeeze the grated onion dry so the meat stays on the wrap when you flip it.
- Ground beef is safe at 160°F (USDA). Check the meat, not the wrap, and wash everything the raw beef touched.
- Bake the potato sticks while you cook the wraps, and keep the sauce, potatoes and fresh toppings separate in the fridge.
In this post4 sections
What we found, and what we are guessing
We read four pages in full (Dimitra's Dishes, Well Plated, Chowhound and Tasting Table, all under Sources) and saw about fifteen more in search results (Budget Bytes, Chelsea's Messy Apron, Soup Addict, The Real Food Dietitians, Gimme Delicious, Taste of Home and others). They agree on thin beef on a tortilla, a hot pan, meat side down first, then a flip and cheese, at 2 to 4 minutes a side. The complaints we could find were corn tortillas falling apart, a flour tortilla that tears and a messy flip, and none of the pages we read gives an internal temperature. We kept the reel's method and its dry nonstick pan. The squeezed-dry onion, the 160°F check, the oven potato sticks timing and the storage times are our additions.
Watch the reel by @tubabetulkitchen on Instagram
Tested recipe
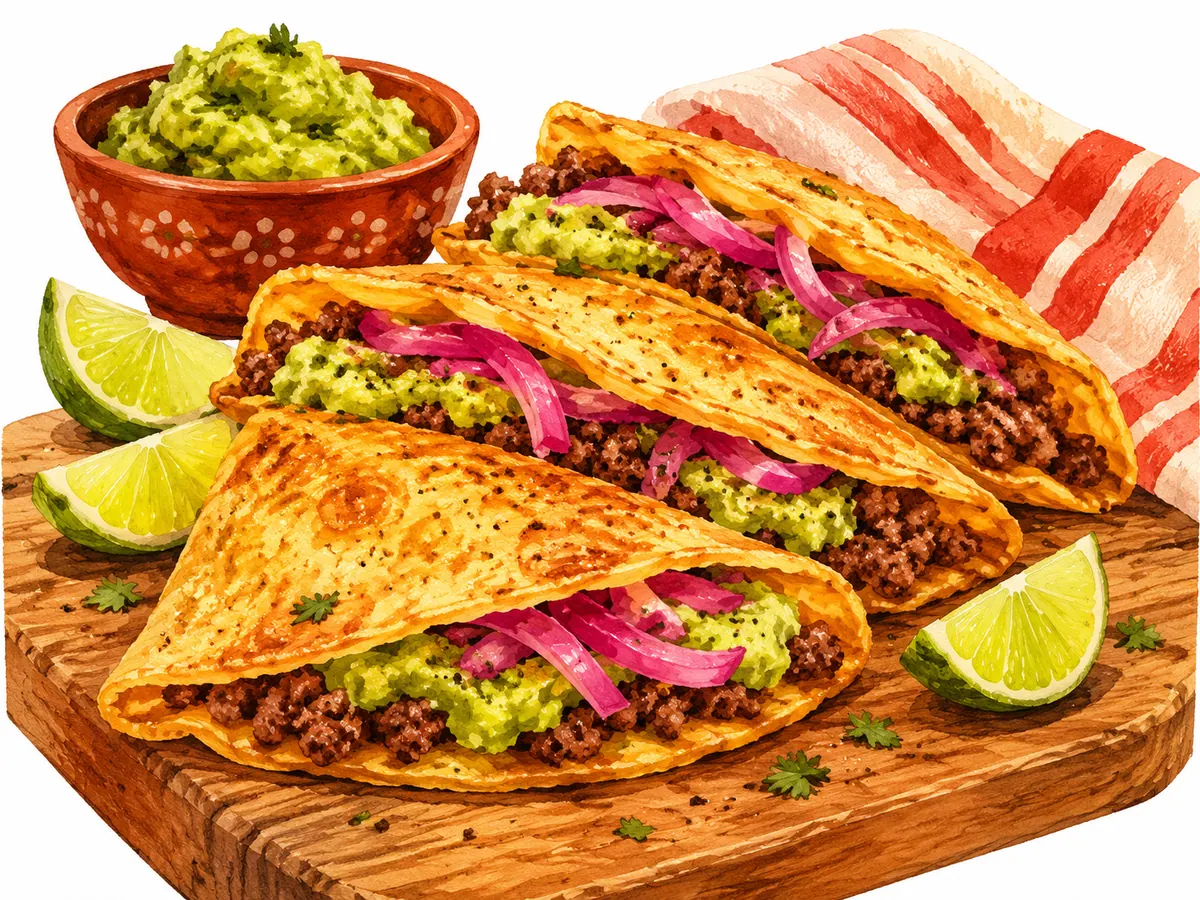
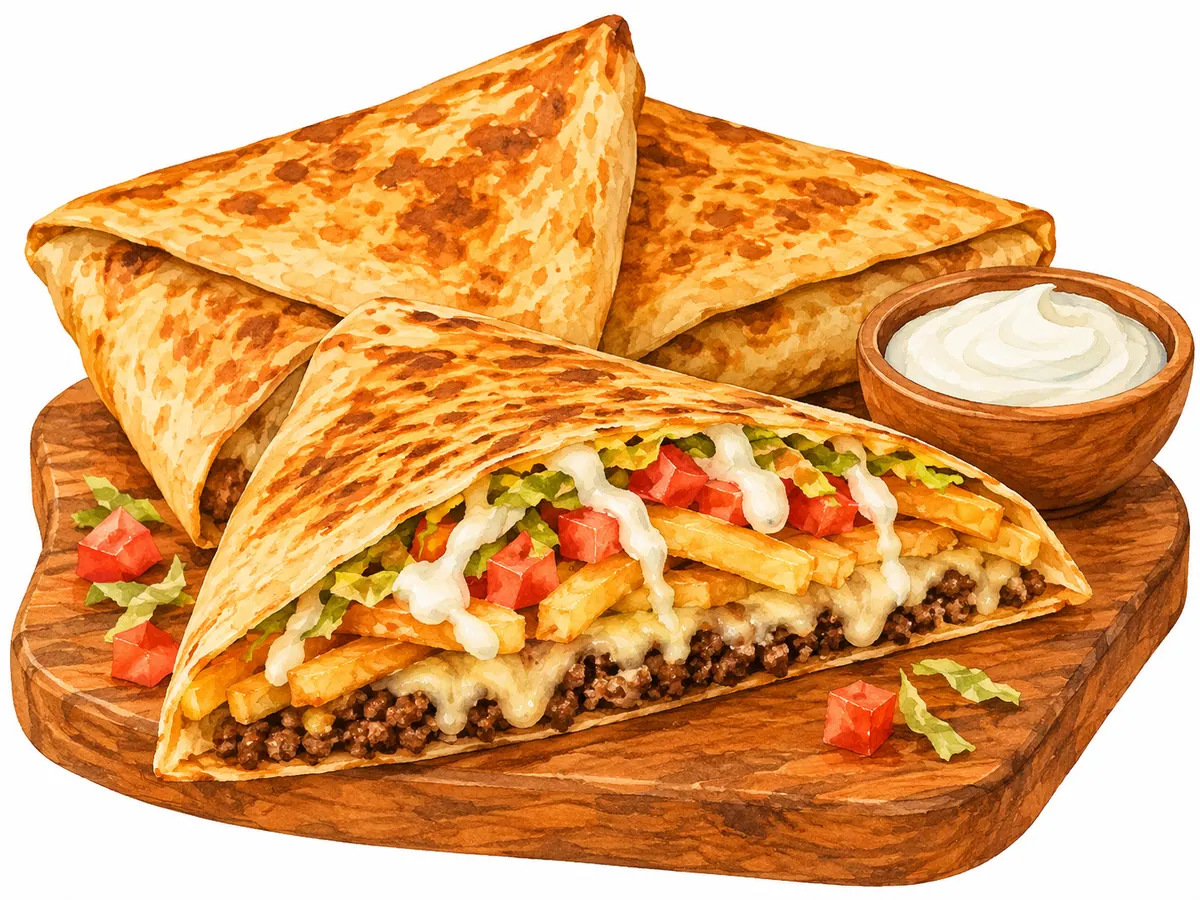
Crispy Pan-Toasted Beef Wrap Tacos
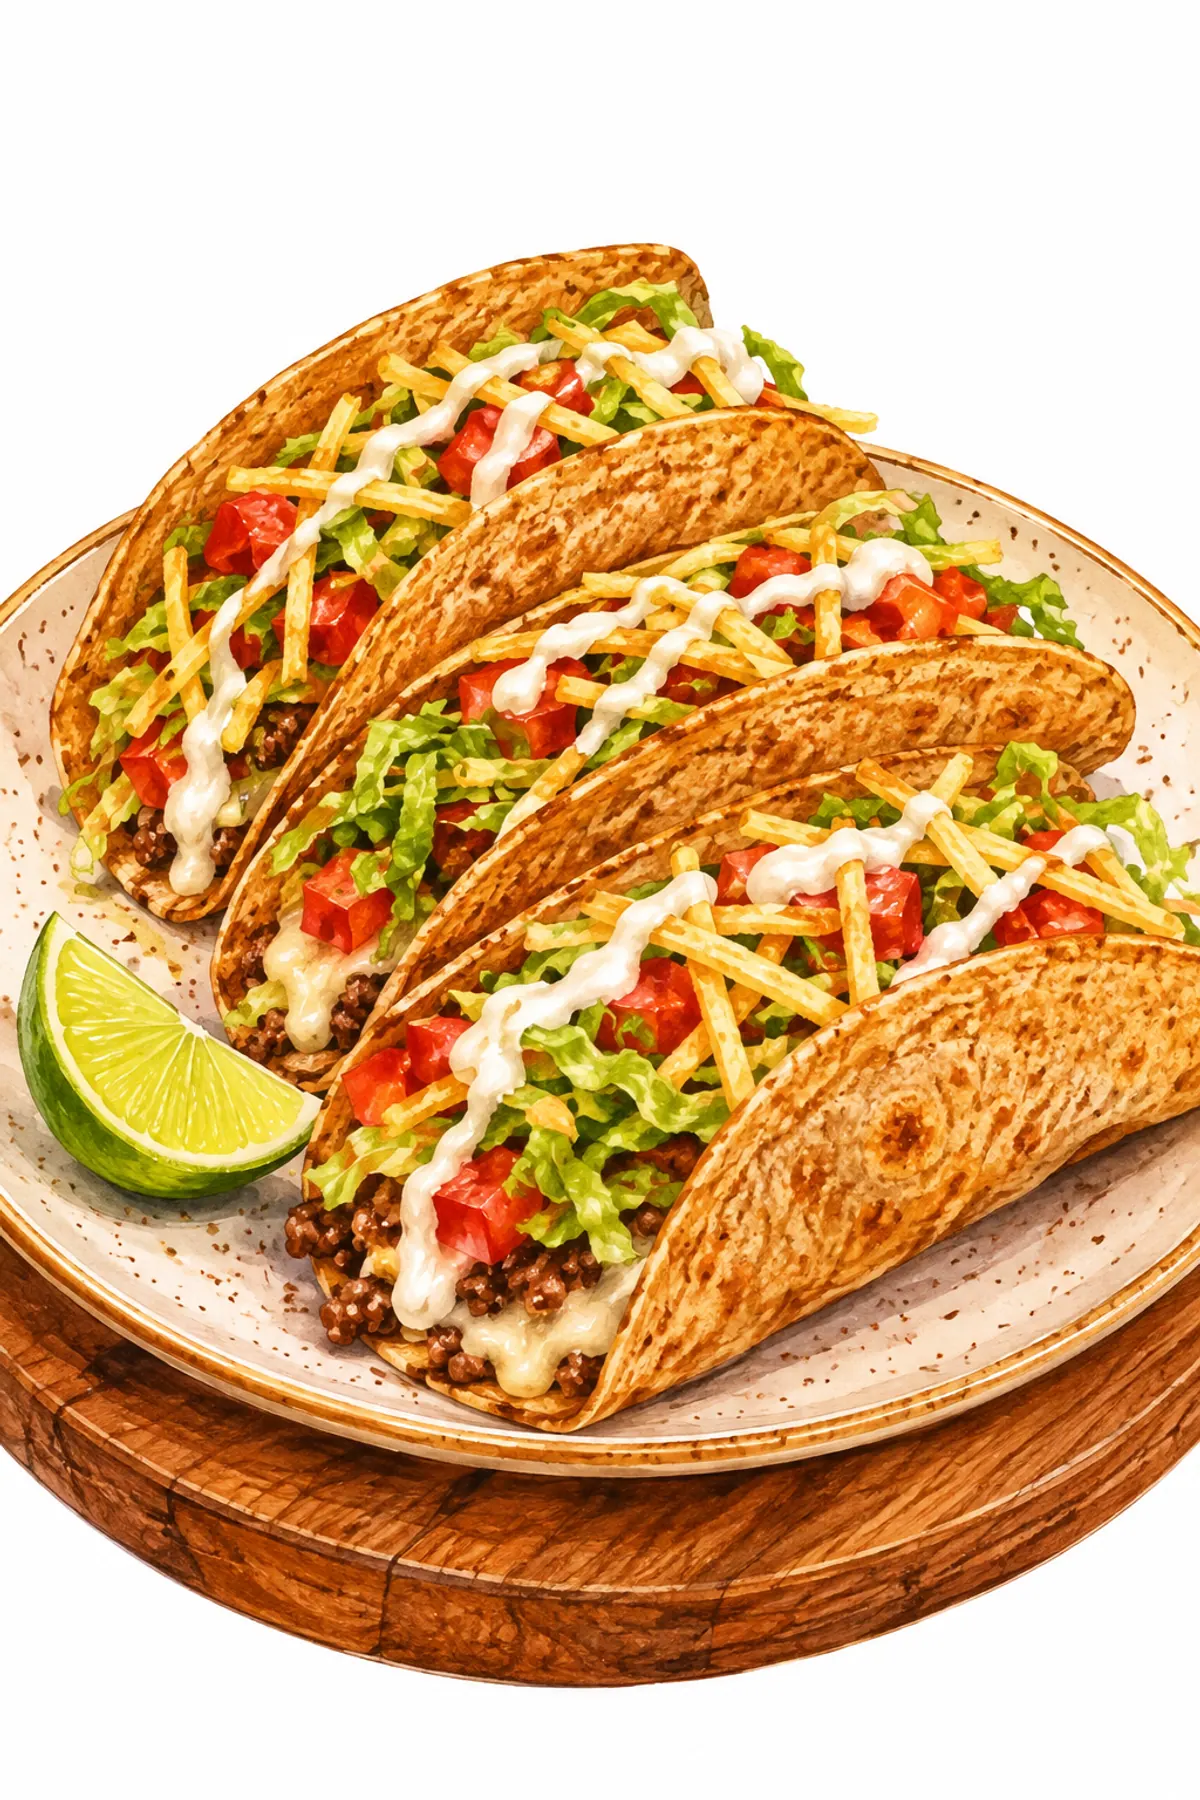
Lean ground beef spread thin on a whole-wheat wrap, toasted meat side down in a dry pan, topped with mozzarella and folded until golden, then filled with potato sticks, tomato, lettuce and yogurt sauce. Makes 6 wraps.
Ingredients
Beef wraps
- 1 lb 93% lean ground beef, about 450 g
- 1 small onion, grated and squeezed dry in a clean towel
- 1 garlic clove, grated
- 3/4 tsp salt
- 1 tsp black pepper
- 6 small whole-wheat wraps, about 8 inch
- 1 1/2 cups shredded mozzarella, about 1/4 cup per wrap
Potato sticks
- 2 medium potatoes, cut in thin sticks
- 1 tsp olive oil
- 1 pinch salt
Yogurt sauce
- 1/2 cup plain Greek yogurt
- 1 Tbsp lemon juice
- 1/8 tsp garlic powder
- 1 pinch salt
To fill
- 1 medium tomato, diced
- 2 cups chopped romaine lettuce
- hot sauce, a little, to taste
Steps
Step pictures are AI illustrations, not our dish. Our photos are coming after we cook it.
-
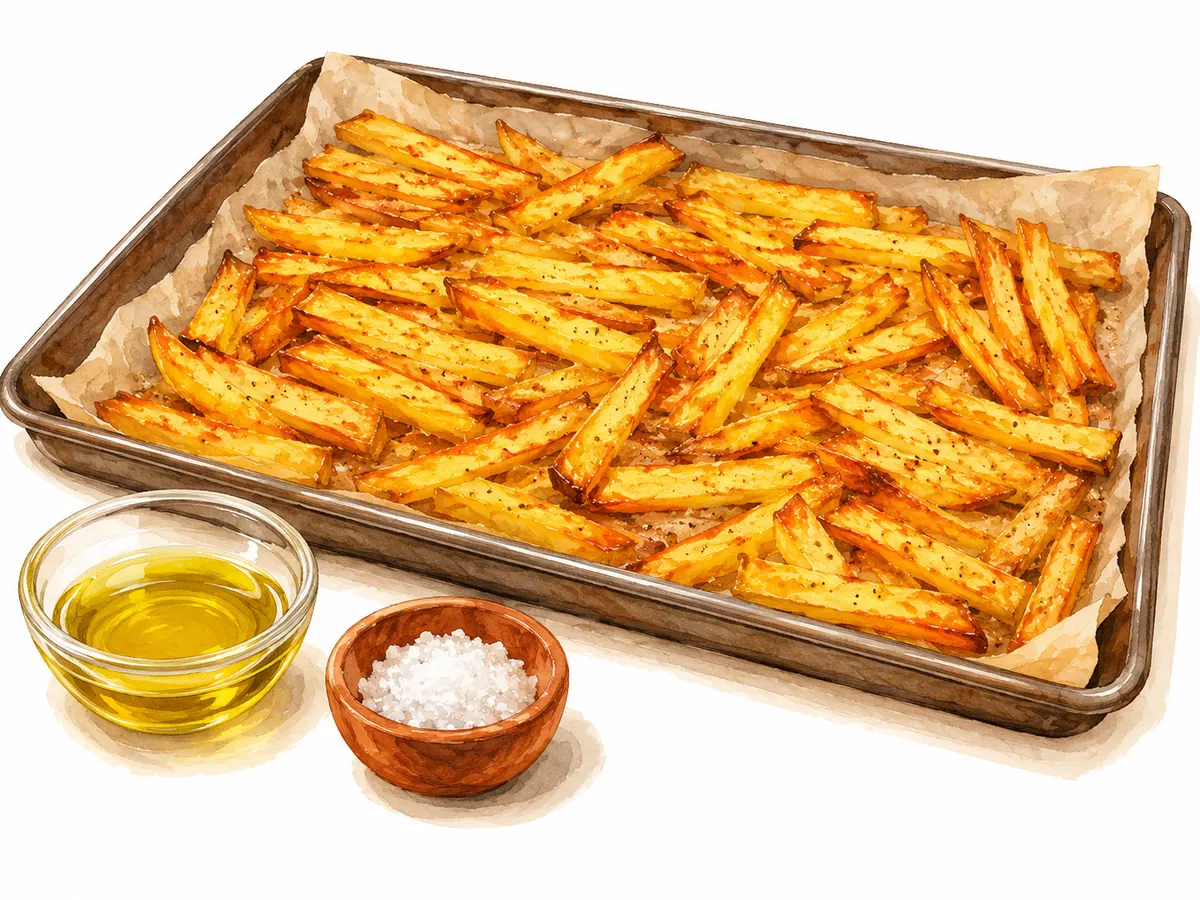
Heat the oven to 425°F. Toss the potato sticks with the olive oil and a pinch of salt, spread them on a lined sheet pan in one layer and bake about 25 minutes, turning once, until golden at the edges. Start these first so they finish while you cook the wraps.
AI illustration -
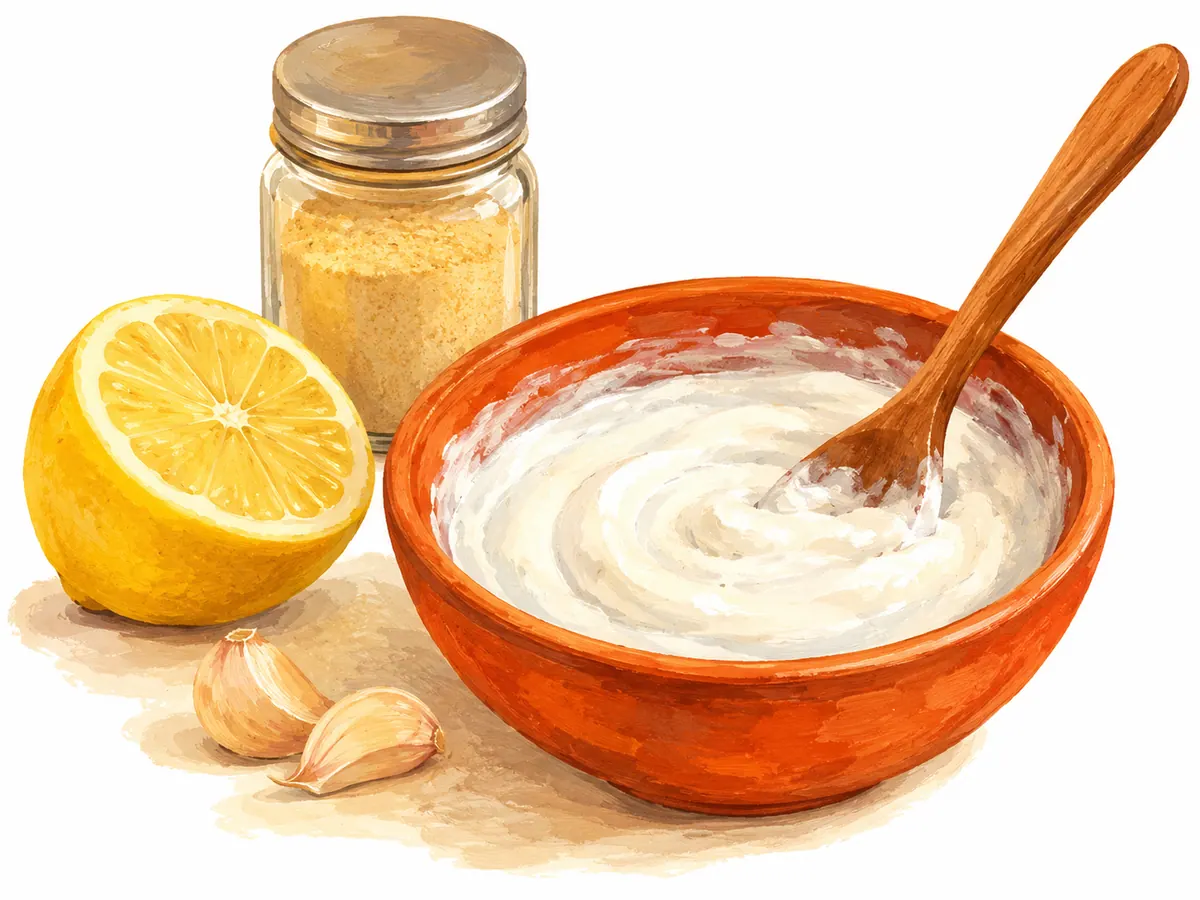
Stir the yogurt, lemon juice, garlic powder and a pinch of salt together in a small bowl and keep it in the fridge until you serve.
AI illustration -
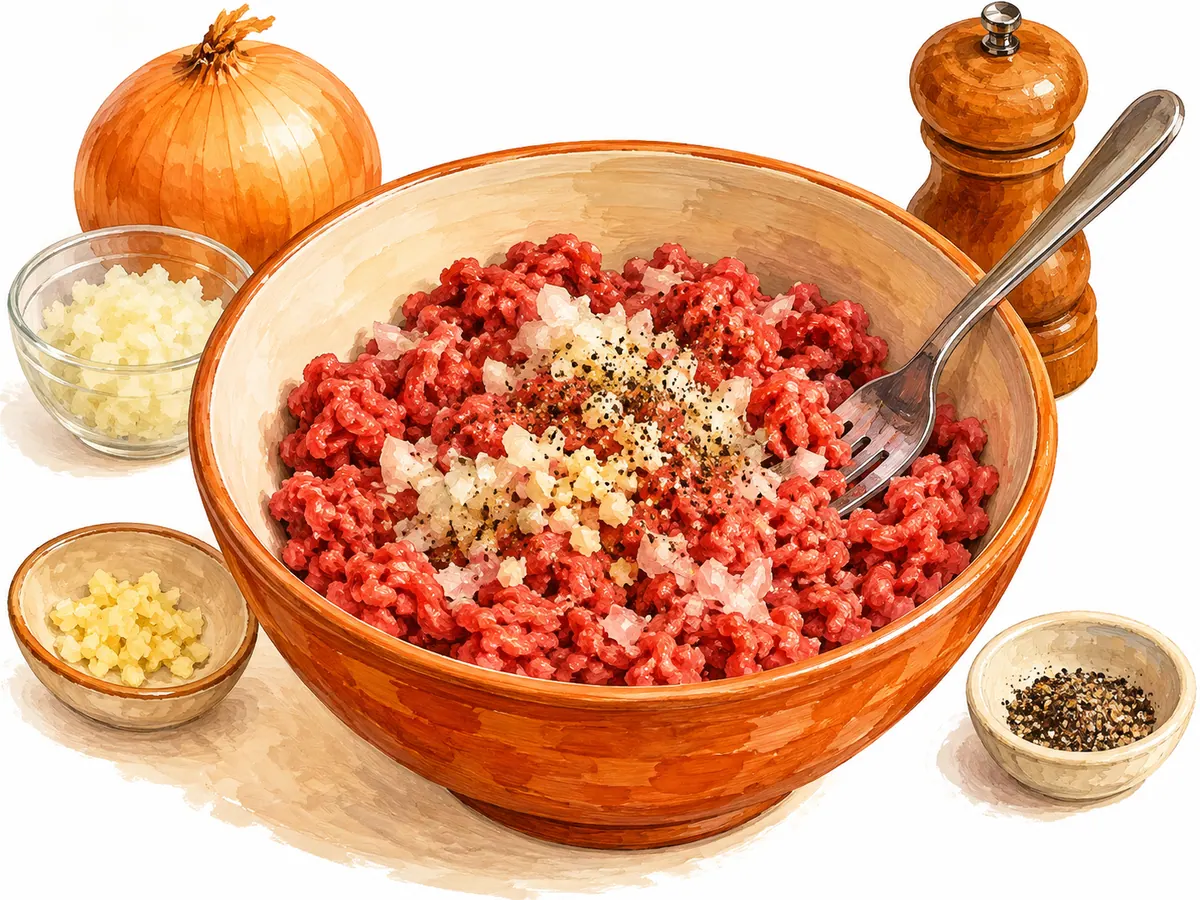
Mix the beef with the grated onion, the grated garlic, 3/4 teaspoon salt and the pepper, using a fork or your hands. Wash your hands and anything the raw beef touched.
AI illustration -
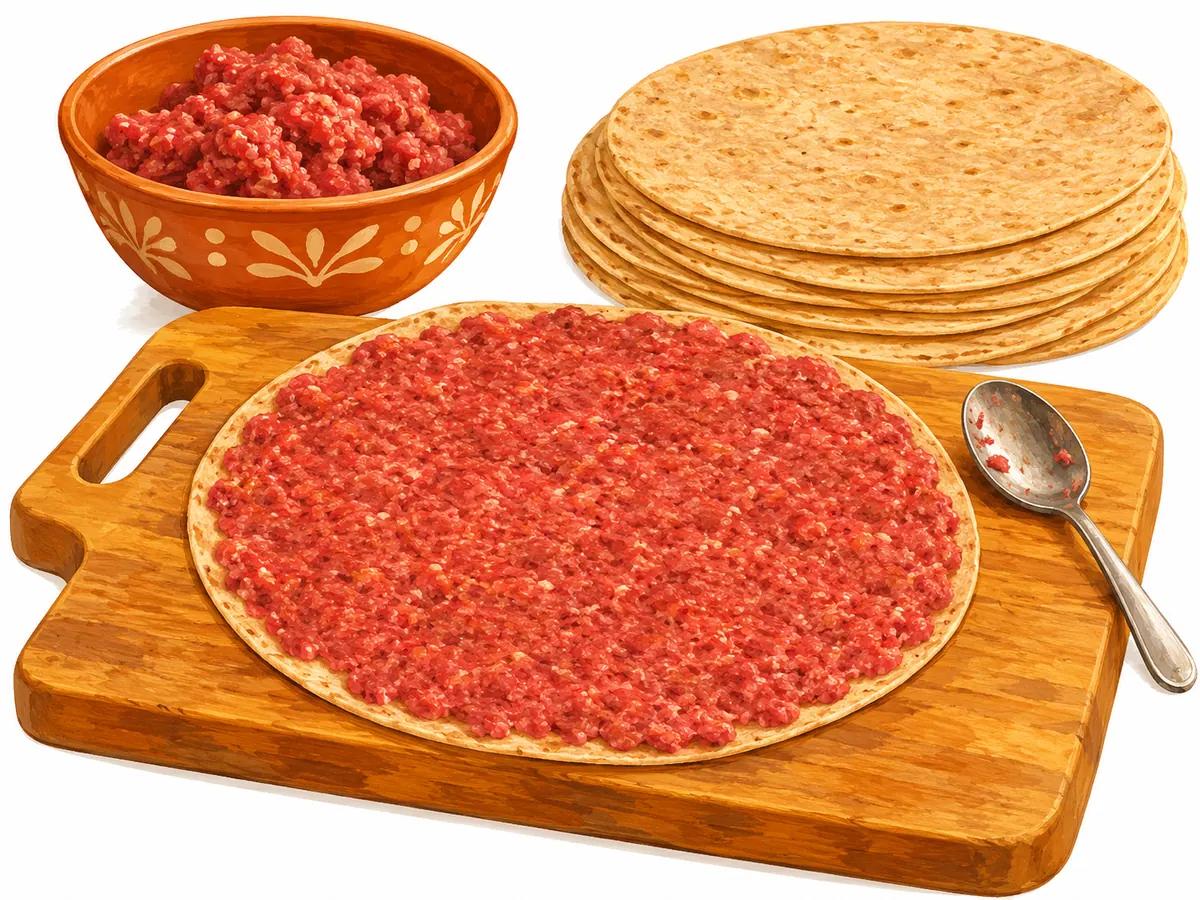
Lay a wrap flat on a cutting board. Spread about 1/3 cup of the beef in a thin, even layer all the way to the edge, pressing with the back of a spoon or damp fingers. Repeat with the other 5 wraps.
AI illustration -
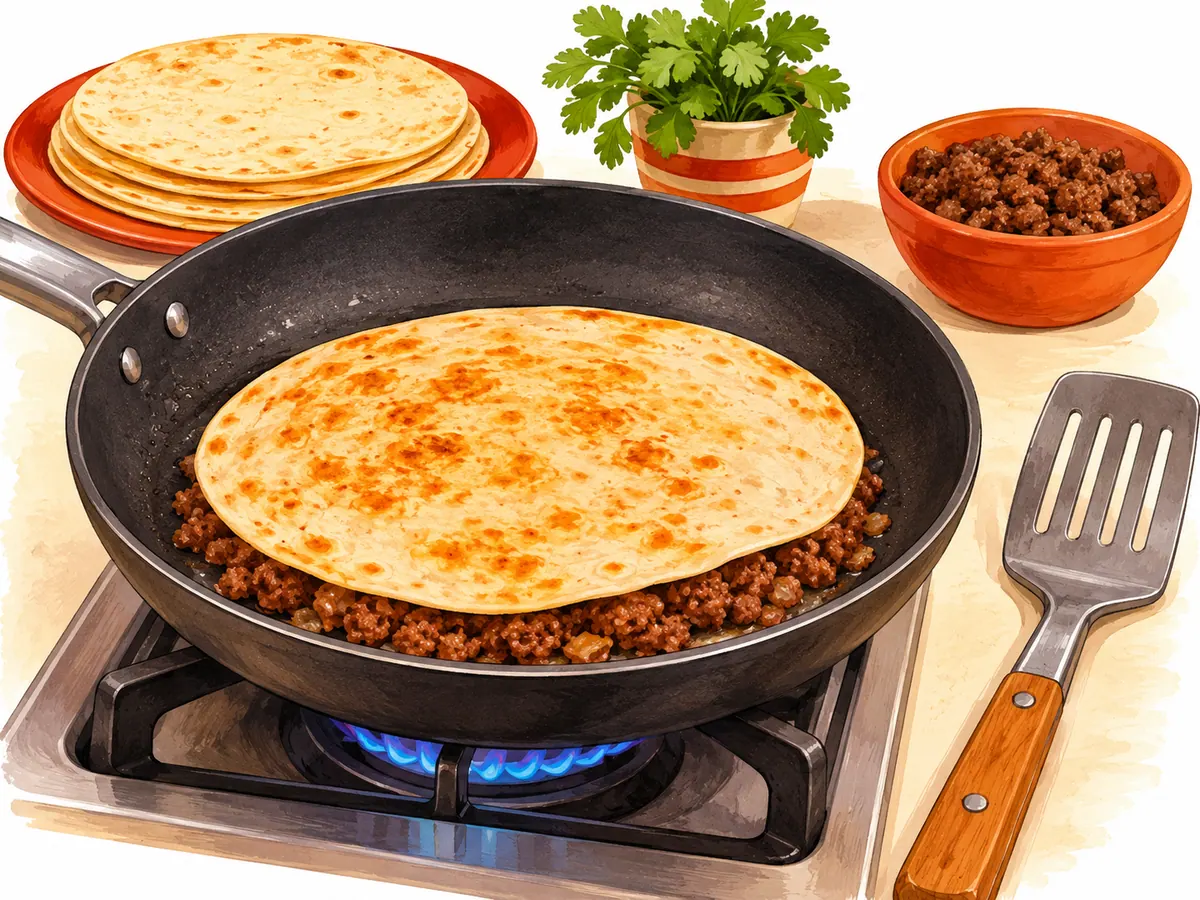
Heat a large dry nonstick skillet over medium heat. Lay a wrap in meat side down and press it flat with a wide spatula. Cook 3 to 4 minutes, until the meat is browned with no pink. Cook in 2 pans, or one pan at a time.
AI illustration -
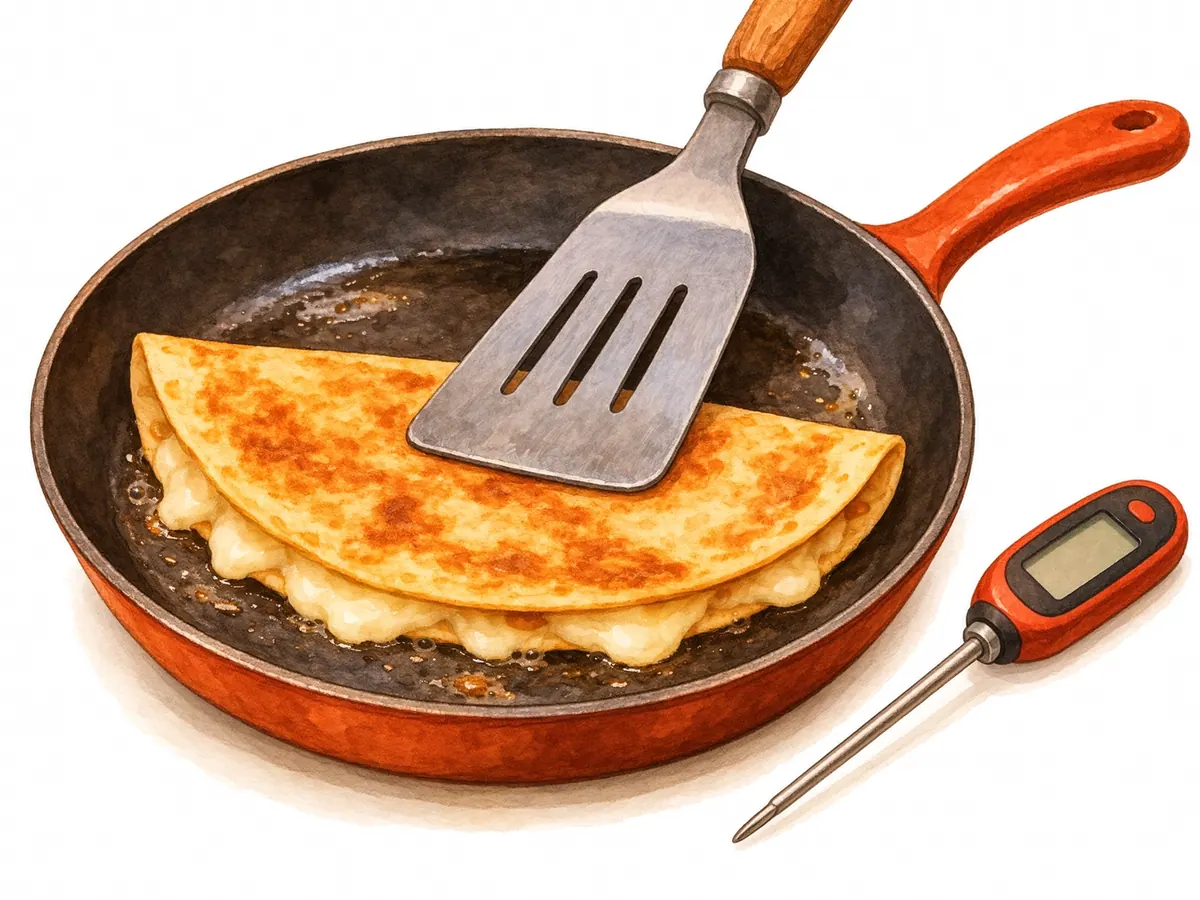
Flip the wrap with the wide spatula, sprinkle 1/4 cup mozzarella over the meat, fold the wrap in half and press it down. Cook about 1 minute a side until golden. The beef should read 160°F on an instant-read thermometer slid in from the open end.
AI illustration -
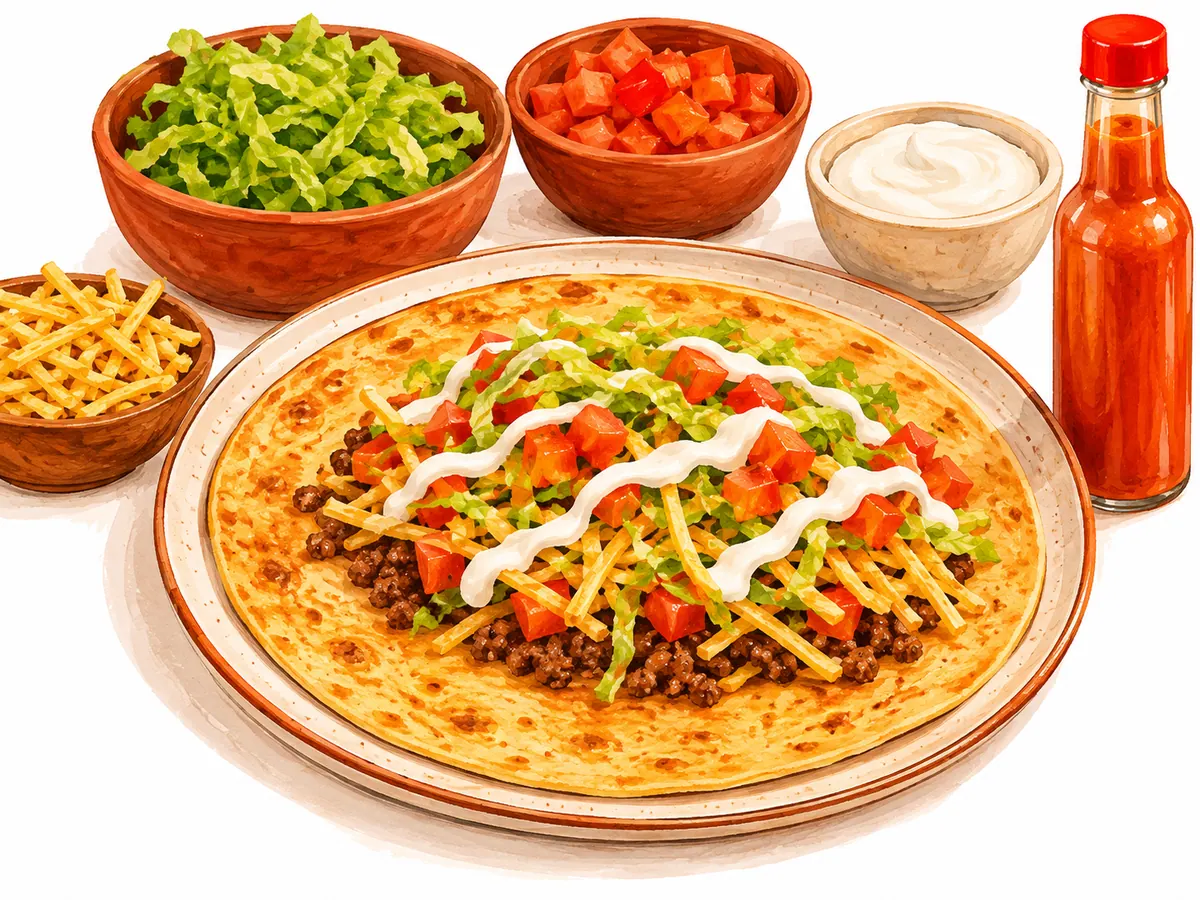
Open each wrap and fill with potato sticks, tomato and lettuce. Drizzle with the yogurt sauce and a little hot sauce and serve right away.
AI illustration
Notes
- Contains milk (the mozzarella and yogurt) and wheat.
- Ground beef is safe at 160°F (USDA). The meat is spread thin, so check by sliding an instant-read thermometer sideways into the meat from the open end of a folded wrap, or open one wrap and look: no pink anywhere.
- Raw beef touches the wrap and the cutting board. Wash your hands, the board and the spoon with hot soapy water before you touch the cooked wraps, the cheese or the toppings.
- Squeeze the grated onion dry in a clean towel. Wet onion makes the beef slide off the wrap when you flip it.
- Use a wide spatula and flip in one move. If a corner of meat comes loose, press it back on before you fold.
- The reel uses a dry pan. A 93% lean beef gives off little fat, so the wrap toasts in a dry nonstick pan. If your pan sticks, wipe it with a little oil on a paper towel.
- One pan fits one wrap, so 6 wraps take about 3 rounds in 2 pans. Hold the finished wraps on a baking sheet in a 250°F oven.
- The reel posts 600 g of beef and 6 lavash. We scale to 1 lb and 6 small wraps, use lean beef, bake the potatoes and make a yogurt sauce, so our amounts and times are estimates and we have not cooked it yet.
- No sugar is added to this recipe: 0 g of added sugar from the ingredients listed. The card total is natural sugar from the onion, tomato, yogurt and wraps. Check the hot sauce label. Worked by hand from the ingredient lists; no online calculator was used.
Swaps
- Use lean ground turkey in place of the beef; it must also reach 165°F, untested.
- Use cheddar or a Mexican blend in place of the mozzarella; untested.
- Use a corn tortilla if you need gluten-free; two readers of other versions say corn tortillas tear, untested.
Storage and reheating
Storage: Cool the wraps and put them in the fridge within 2 hours of cooking. Keep the wraps, potato sticks, tomato and lettuce and the sauce in separate containers. Cooked wraps keep 3 to 4 days in the fridge (USDA). For the freezer, we would wrap the cooked wraps one by one and freeze them up to 2 months for best quality (our estimate; we have not tested freezing), then thaw overnight in the fridge.
Reheating: Skillet over medium heat, 2 to 3 minutes a side, or air fryer at 350°F for 4 to 5 minutes, until the center reads 165°F, the USDA safe temperature for leftovers. The microwave works but softens the crisp wrap.
Nutrition (1 wrap (one of 6) with potato sticks, tomato, lettuce and sauce)
- Calories: 390 calories
- Carbs: 36 g
- Sugar: 4 g
- Fiber: 5 g
- Protein: 30 g
- Fat: 13 g
- Sodium: 905 mg
Estimates only, summed from standard USDA SR Legacy values per ingredient. Not medical or nutrition advice.
Where this recipe comes from
- Inspired by Burger Wraps from Dimitra's Dishes, which we used for pressing the beef over most of a tortilla and cooking it meat side down 3 to 4 minutes, then flipping and melting cheese on the other side, and by Smash Tacos from Well Plated, which we used for spreading the beef thin, a hot pan, about 2 to 3 minutes a side and the tip that corn tortillas tear.
- We also read Smash Burger Tacos from Chowhound, which we used for the tip to sear the beef first if a flour tortilla tears, and Cheesy Smash Burger Tacos from Tasting Table, which we used for a tortilla about 1/2 inch wider than the meat and for the 80 to 85% beef juiciness point (we use leaner beef).
- The idea came from this reel by @tubabetulkitchen.
How to serve it
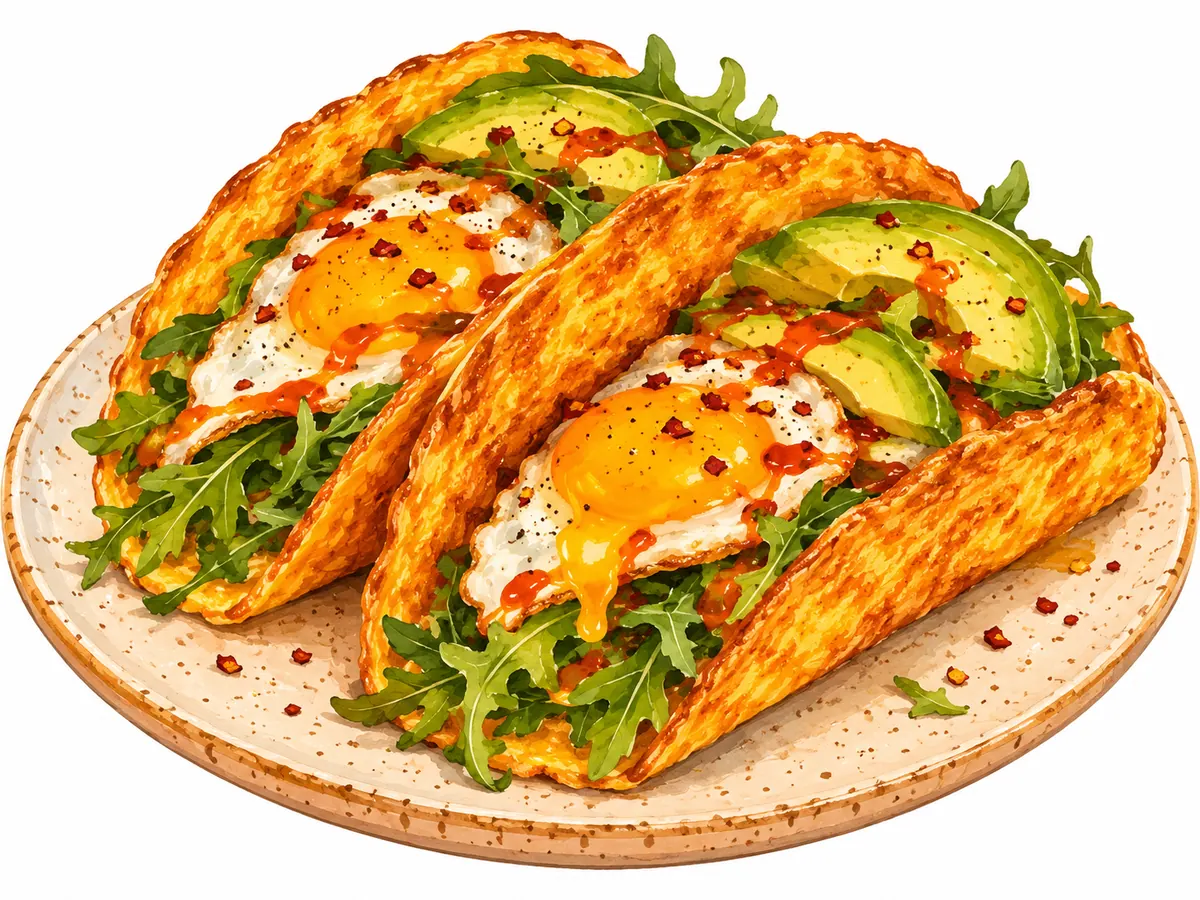
Serve the wraps hot, open them and fill them at the table so the potato sticks stay crisp. They work for a weeknight dinner for 3 with a green salad. For more wrap and taco ideas, try our cottage cheese taco shells or the crispy potato flatbread tacos.
Every recipe from Diane's reels in one printable book: the Healthy Recipes Cookbook.
Frequently asked questions
How do I keep the beef from sliding off when I flip?
Squeeze the grated onion dry, spread the beef thin all the way to the edge and flip with a wide spatula in one move.
What temperature is the beef safe at?
160°F for ground beef (USDA). Leftovers are reheated to 165°F.
Can I use corn tortillas?
Readers of other versions say corn tortillas fall apart, so we use small whole-wheat wraps. We have not tested corn.
How long do leftovers keep?
3 to 4 days in the fridge (USDA), with the wraps, potato sticks and toppings stored separately.
Save it for later
Pin this to your Easy Dinners board so it's there when you need it.
Save to Pinterest