Safety first: Lower in added sugar, not sugar-free. Not medical or nutrition advice; check with your doctor about your own diet. Please read our editorial guidelines before you start.
Key takeaways
- Spray the parchment well, spread each shell evenly to about 1/4 inch and bake until the surface looks dry and set.
- Let the shells cool 5 minutes on the sheet before peeling them off; they firm up and tear less.
- Cottage cheese is salty and varies by brand, so read the label and skip the added salt if yours is high.
In this post4 sections
What we found, and what we are guessing
We read five pages in full (Food Network Kitchen, The Takeout, Wholesome Yum, Cre8athome and Averie Cooks; the two we use are under Sources) and saw others in search results (Budget Bytes, The Balanced Nutritionist and Food Dolls) whose pages would not load, so we take nothing from them. They agree on cottage cheese blended with egg, parchment that is greased, a cooling rest and filling lightly. They differ a lot on the oven and the time: 400°F for 8 to 10 minutes at about 1/8 inch (Wholesome Yum, with mozzarella and almond flour), 350°F for 30 to 35 minutes (Cre8athome), 350°F for 35 to 40 minutes for 5-inch rounds (Food Network) and 350°F for 25 to 30 minutes for one big wrap (Averie Cooks). The problems they warn about are shells that stick, tear when folded, stay soggy or come out watery from fat-free cottage cheese. The fixes are greased parchment, cooling before peeling, baking longer and using 2% or whole. The reel gives no amounts, only 400°F for 25 to 30 minutes and thin 6-inch rounds. We spread 1/2 cup of batter to about 1/4 inch, thicker than the quick 1/8 inch version, which is a guess. The dry-surface test, the egg safety line and the storage times are our additions.
Watch the reel by @bitesbysameen on Instagram
Tested recipe
Crispy Cottage Cheese Taco Shells
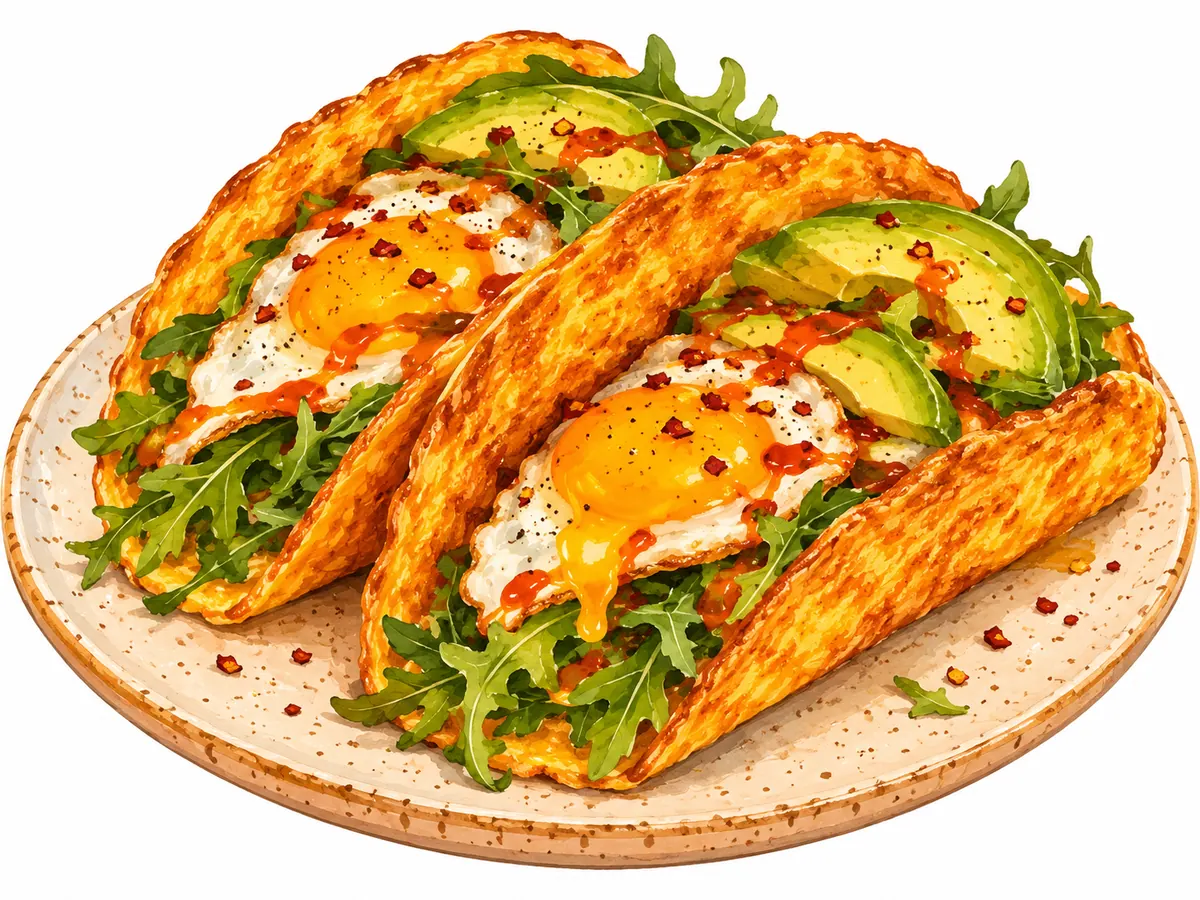
Cottage cheese and egg blended, spread thin and baked into two shells, then filled with arugula, a fried egg, avocado and hot sauce. Serves 2.
Ingredients
Shells
- 1 cup cottage cheese, 226 g; 2% or whole, small curd; not fat-free
- 1 large egg
- 1/4 tsp chili flakes, plus a pinch to finish if you like
- 1 pinch salt, only if your cottage cheese is low in sodium
- cooking spray, for the parchment
Toppings
- 2 large eggs, for frying
- 1 tsp olive oil
- 1 cup baby arugula
- 1/2 ripe avocado, sliced
- black pepper, to taste
- hot sauce, to taste
Steps
Step pictures are AI illustrations, not our dish. Our photos are coming after we cook it.
-
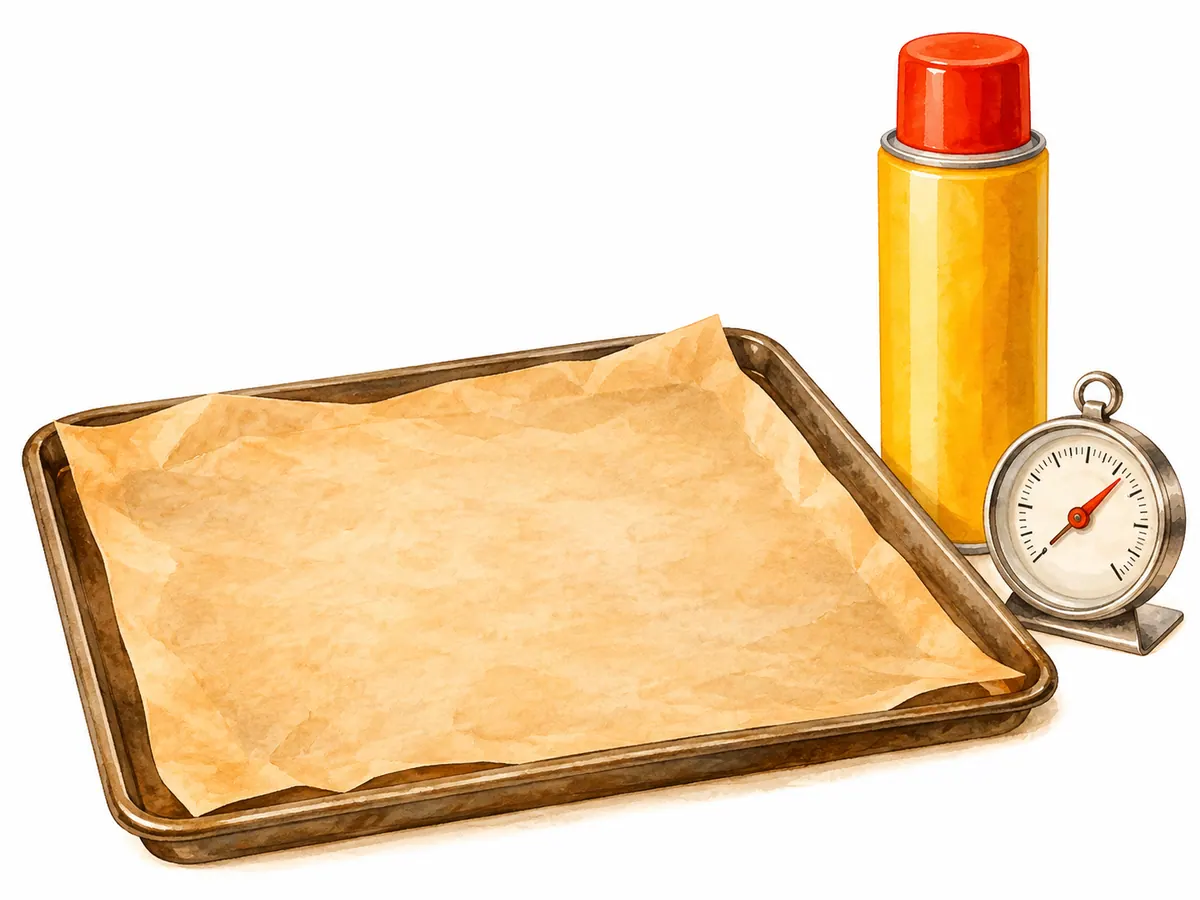
Heat the oven to 400°F. Line a rimmed baking sheet with parchment and spray the parchment well with cooking spray.
AI illustration -
Blend the cottage cheese, the egg and the salt, if you use it, for about 30 seconds, just until smooth. Small lumps are fine, and blending longer makes the batter thinner.
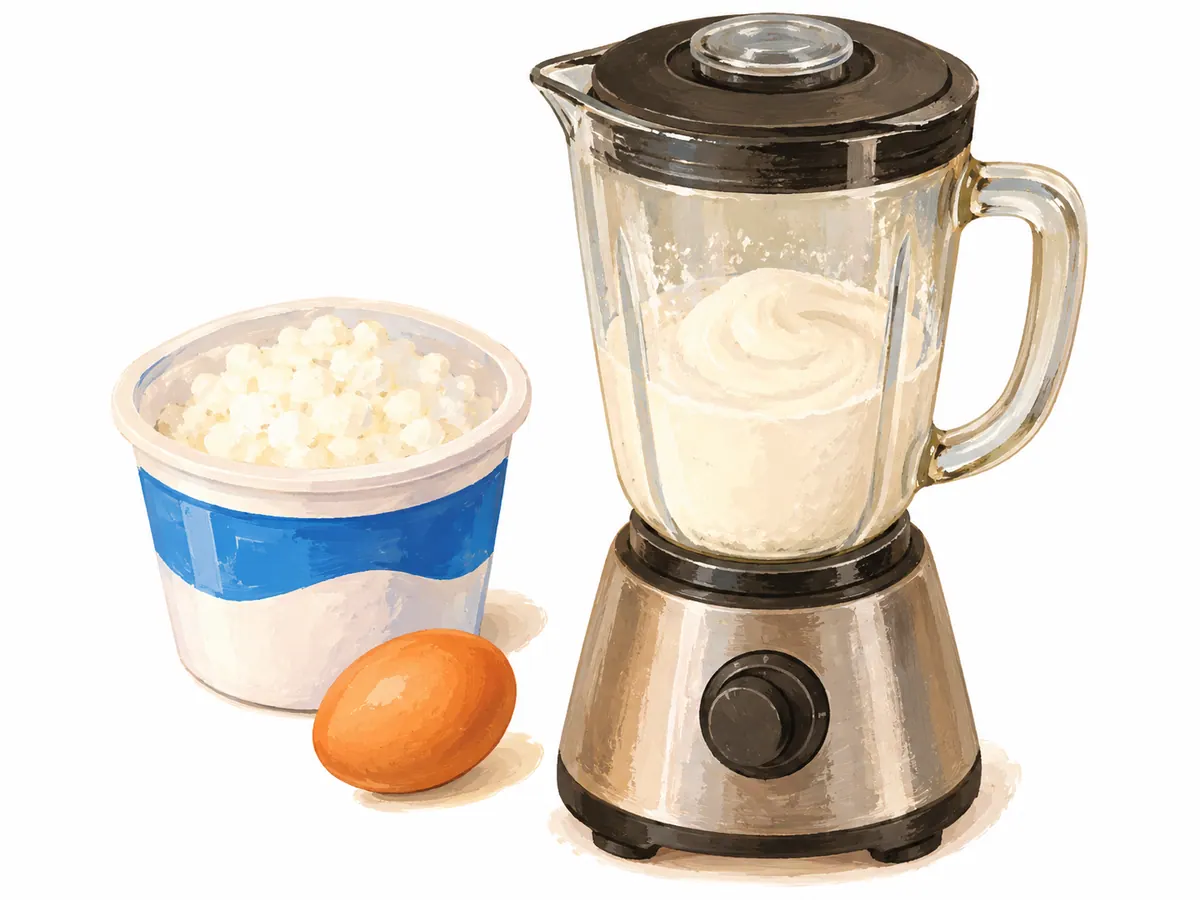
AI illustration -
Spoon half the batter, about 1/2 cup, onto the parchment and spread it with the back of the spoon into an even round about 6 inches across and 1/4 inch thick. Make a second round at least 2 inches away, then sprinkle both with the chili flakes.
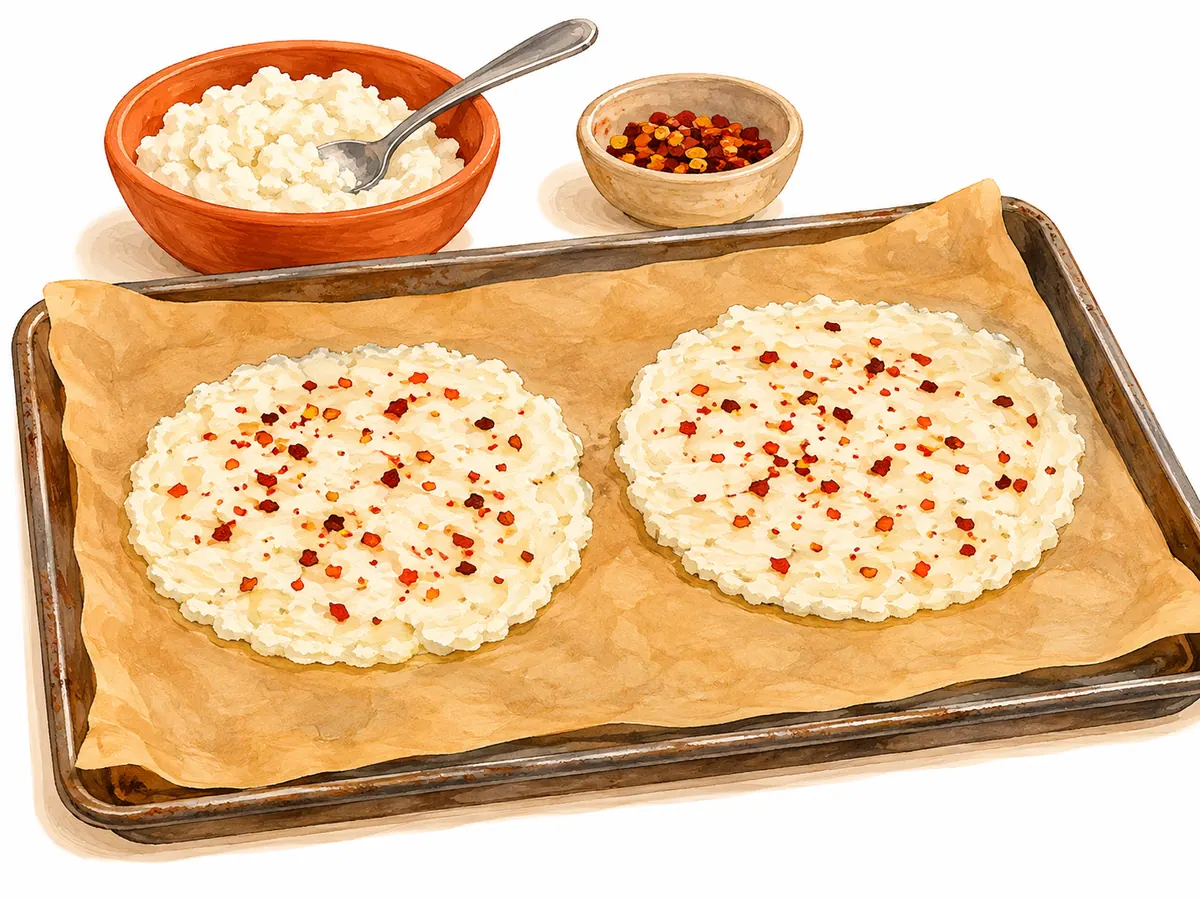
AI illustration -
Bake 25 to 30 minutes, starting to check at 22, until the edges are golden and the surface looks dry and set. The shells puff as they bake and sink as they cool. Leave them on the sheet 5 minutes to firm up, then peel them off the parchment.
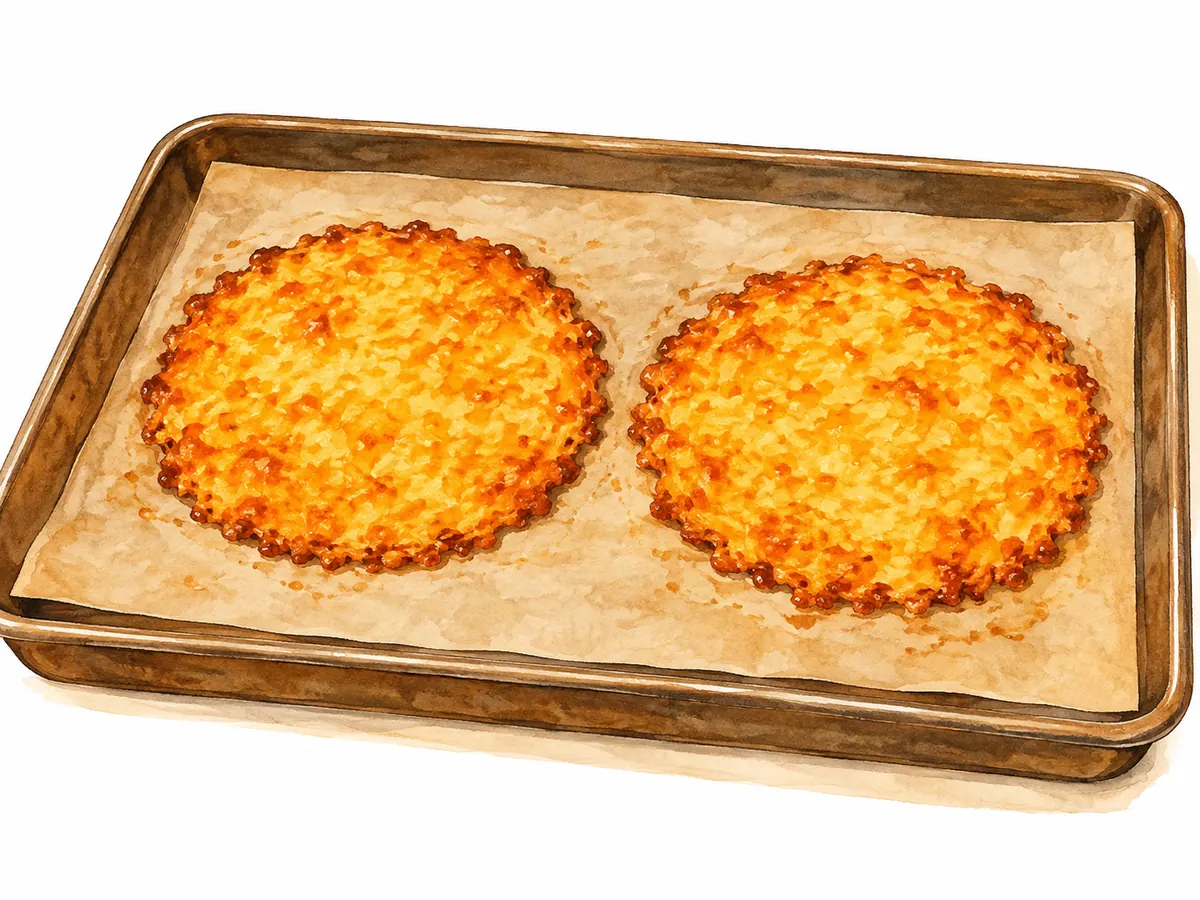
AI illustration -
While the shells cool, warm the oil in a nonstick skillet over medium heat. Crack in the 2 eggs and cook 3 to 4 minutes, covering the pan for the last minute, until the whites are fully set.
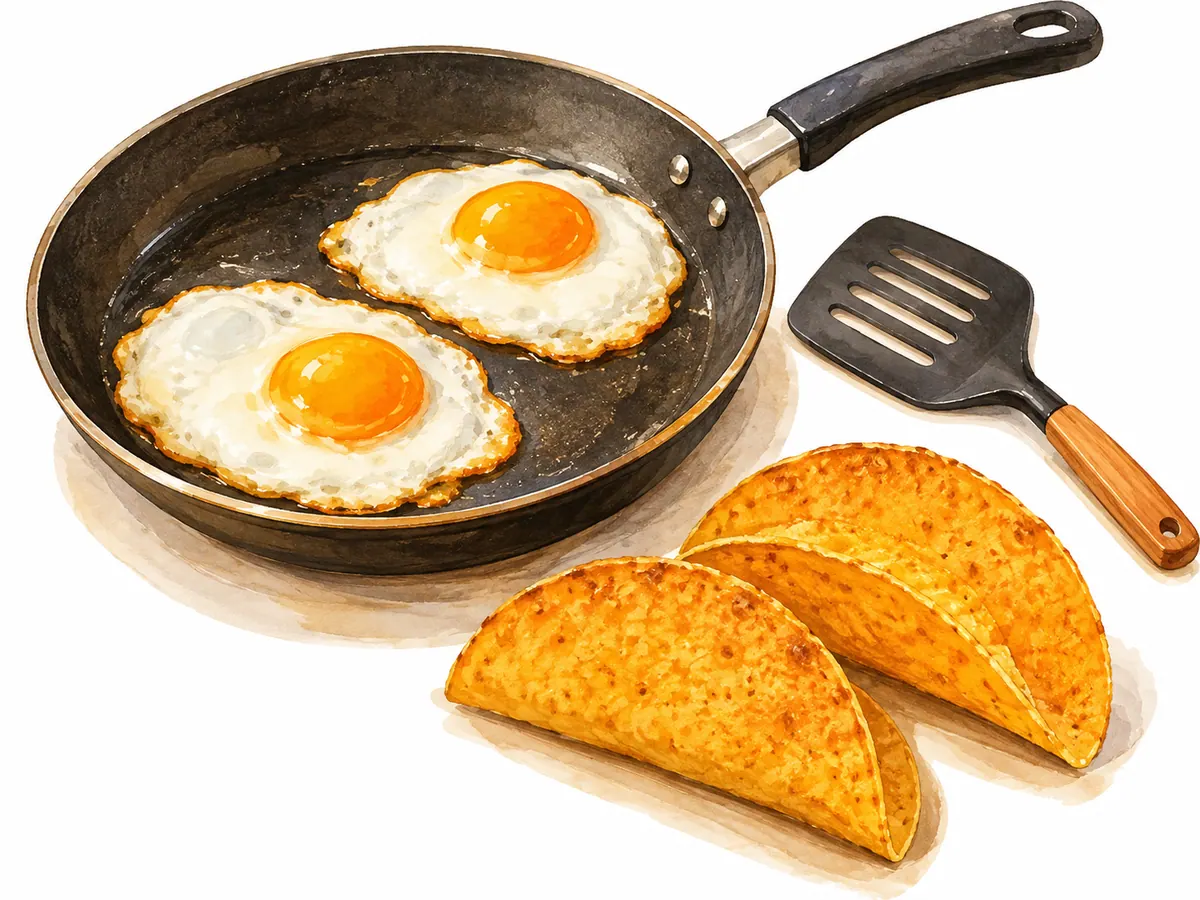
AI illustration -
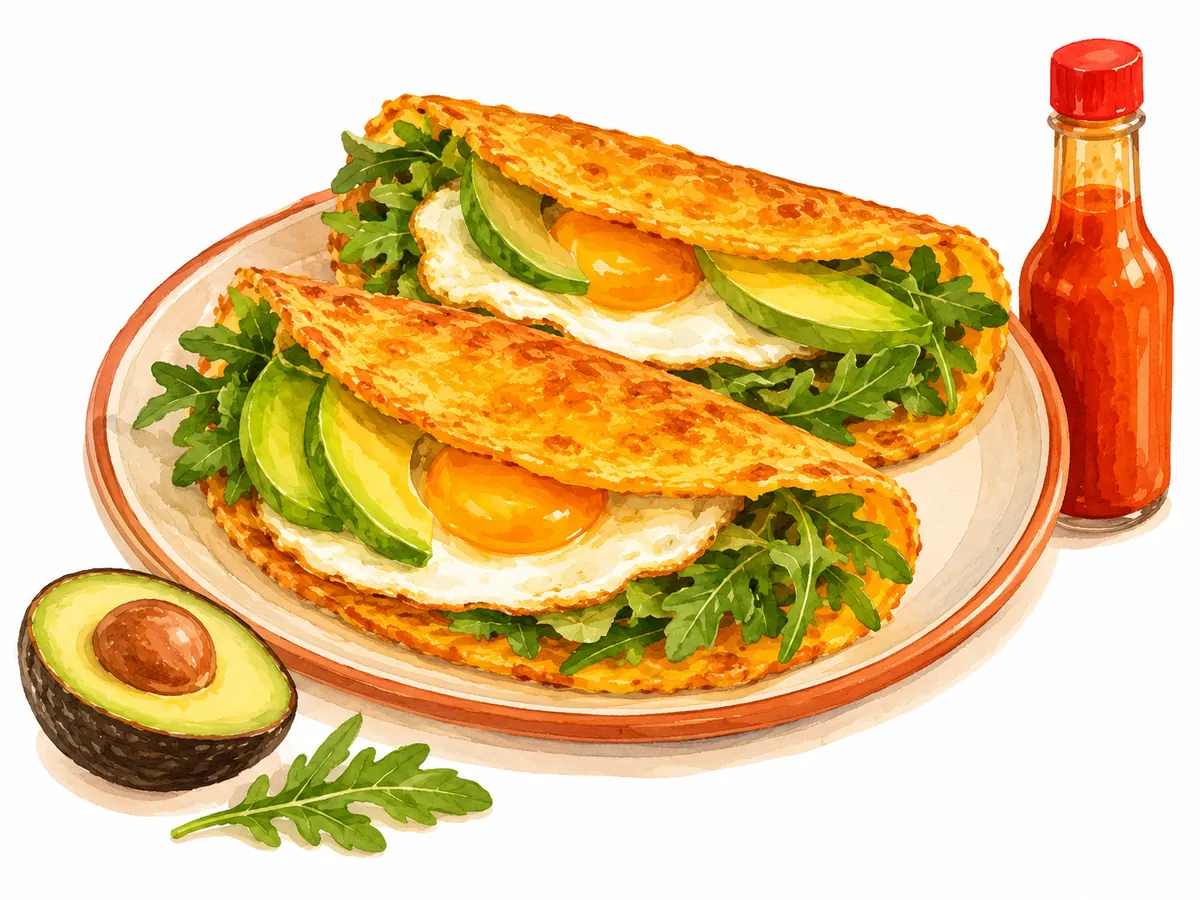
Put half the arugula on each shell, then a fried egg and the avocado slices. Add black pepper and hot sauce, fold each shell in half and eat right away.
AI illustration
Notes
- Contains egg and milk (the cottage cheese).
- Cook the egg until the white is fully set, as the reel shows. USDA says to cook eggs until the yolk and white are firm; do that if you serve anyone pregnant, over 65, under 5 or with a weakened immune system.
- Cottage cheese is salty and brands differ a lot. The card estimates about 620 mg of sodium a serving; read the label and skip the pinch of salt if yours is high.
- Fat-free cottage cheese can release water and make a soggy shell. Use 2% or whole.
- The shells stick without well-greased parchment, and they tear if you peel them hot or overfill them.
- The reel says about 5 minutes of prep and 30 minutes of baking. Our estimate is 45 minutes in all, about 15 of them hands-on.
- No sugar is added to this recipe: 0 g of added sugar. The card total (5 g a serving) is natural sugar, mostly lactose in the cottage cheese. The versions we read add none either, so we make no lower-sugar claim. Worked by hand from USDA FoodData Central (SR Legacy) values per ingredient; no online calculator was used.
- Every amount and time here is our estimate; the reel gives none.
Swaps
- Use a soft-boiled or scrambled egg, or leave the egg off and add black beans; untested.
- Add 1/2 tsp cumin or garlic powder to the batter, as Food Network does; untested.
- Fill with salsa and shredded cheese in place of the egg; untested.
Storage and reheating
Storage: Plain cooled shells keep up to 3 days in the fridge, layered with parchment in an airtight container (our estimate; the pages we read say 2 to 5 days). To freeze, layer them with parchment and freeze up to 1 month for best quality (our estimate; we have not tested it). Fill the shells just before you eat. A fried egg and avocado do not keep well; eat leftover cooked egg within 3 to 4 days (USDA).
Reheating: Warm a plain shell in a nonstick skillet over medium heat, 20 to 30 seconds a side, or in the microwave for 10 to 15 seconds, then fill it. Reheat any leftover cooked egg to 165°F, the USDA safe temperature for leftovers.
Nutrition (1 filled shell (half the recipe: 1 shell, 1 fried egg, a quarter of the avocado))
- Calories: 277 calories
- Carbs: 9 g
- Sugar: 5 g
- Fiber: 3 g
- Protein: 22 g
- Fat: 17 g
- Sodium: 618 mg
Estimates only, summed from standard USDA SR Legacy values per ingredient. Not medical or nutrition advice.
Where this recipe comes from
- Inspired by Cottage Cheese Wrap from Wholesome Yum, which we used for baking at 400°F, cooling before cutting and lifting the shells, and the paper-between-layers storage, and by High Protein Cottage Cheese Wrap from Averie Cooks, which we used for lining the sheet with parchment, not over-blending, cooling 5 to 10 minutes before peeling and not overfilling.
- The idea came from this reel by @bitesbysameen.
How to serve it
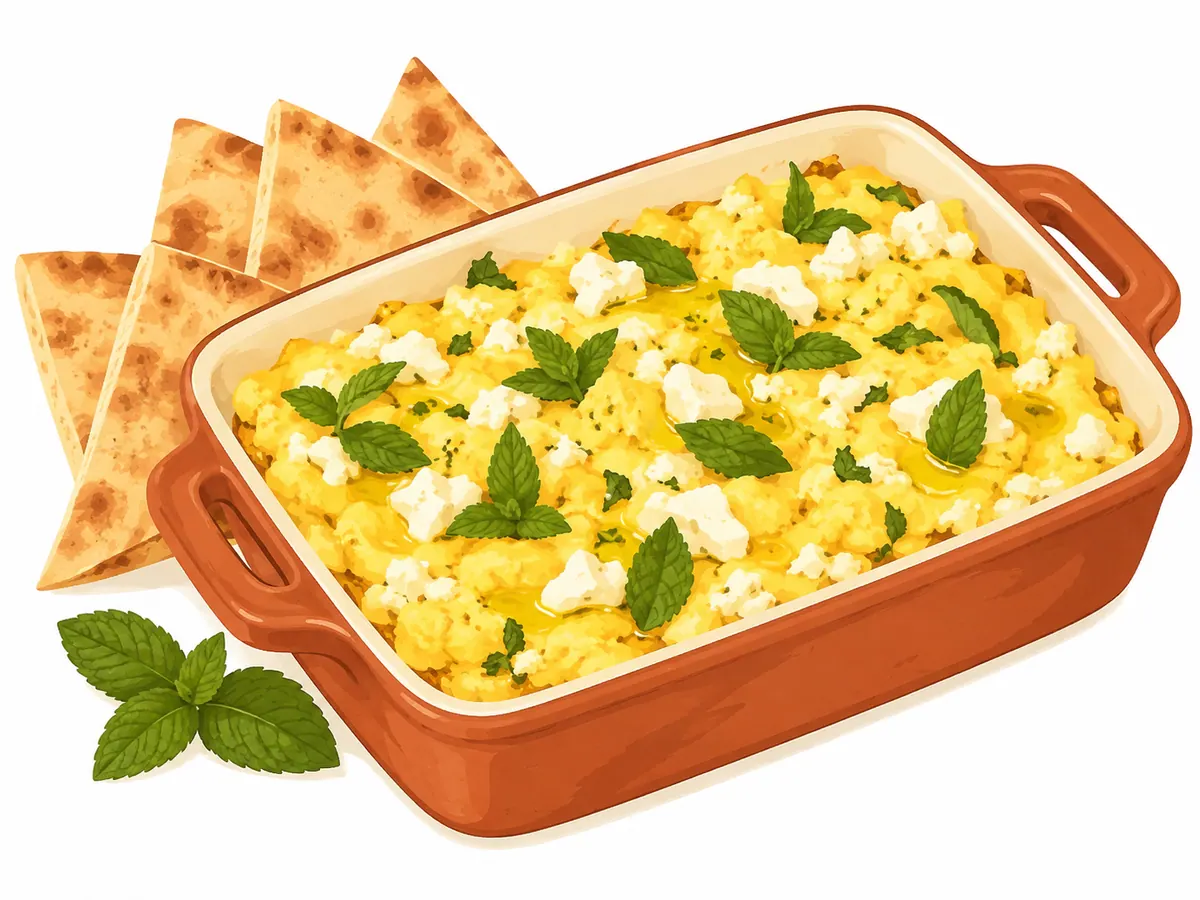
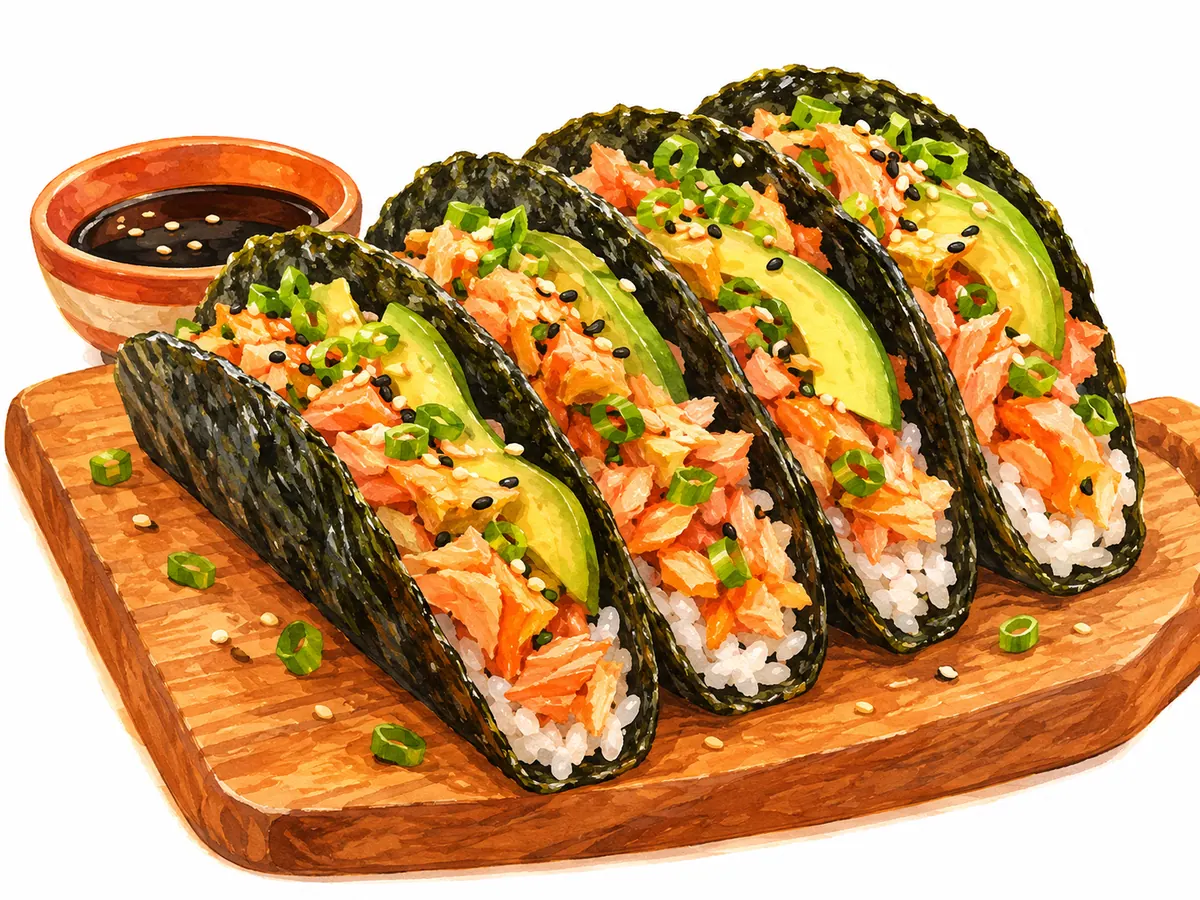
Serve right away, one folded shell each, with extra hot sauce and a squeeze of lime if you have one. For a bigger meal, double the batch and bake the shells in two pans, swapping them halfway. Our baked feta scrambled eggs and crispy sushi tacos are other egg and taco ideas on this site.
Every recipe from Diane's reels in one printable book: the Healthy Recipes Cookbook.
Frequently asked questions
Why did my shell stick to the parchment?
The parchment needs a good coat of cooking spray. Let the shell cool 5 minutes so it firms up, then peel it off slowly.
Why is my shell wet in the middle?
It was spread too thick, baked too short or made with fat-free cottage cheese. Bake until the surface looks dry and set, up to 5 minutes more, and use 2% or whole cottage cheese.
Why did it tear when I folded it?
It was peeled while hot or overfilled. Cool it 5 minutes first and use a light hand with the toppings.
Can I make the shells ahead?
Yes. Cool them, layer them with parchment and keep them up to 3 days in the fridge, then warm them in a skillet and fill them.
Save it for later
Pin this to your Breakfast board so it's there when you need it.
Save to Pinterest